

This Christmas season, I became obsessed with making Polish honey gingerbread cookies, called “pierniczki.” These are traditional honey cookies that date back to at least the 14th century. The history behind pierniczki is immense. They are an important fixture not just in Polish culture, but also Russian, German, and Slovakian cultures, to name a few.
So this time around, my obsession led me to make about 5 batches, using 3 different formulas, all different from the one I posted last year: Pierniczki Staropolskie. Why was I searching for another way to make pierniczki? Simply put, I was looking for a quick version of these cookies. The old-style recipe requires the dough to ripen over the course of a few days. Actually, authentic cookies made in Torun, Poland by pierniczki master bakers might be made with dough that was left to ripen for up to a year! What if I don’t have all that time to spare?
So for this version, there is no need to let the dough ripen at all. Yay! Not only can these cookies be made the same day, but they are still deliciously soft and pillow-y, which is the goal for pierniczki. What’s also terrific about these cookies and pierniczki in general is that they keep for several weeks. All you need to do is store them in an airtight container or even a heavy enamel-lined Dutch oven (just like for baking no knead bread) at room temperature.
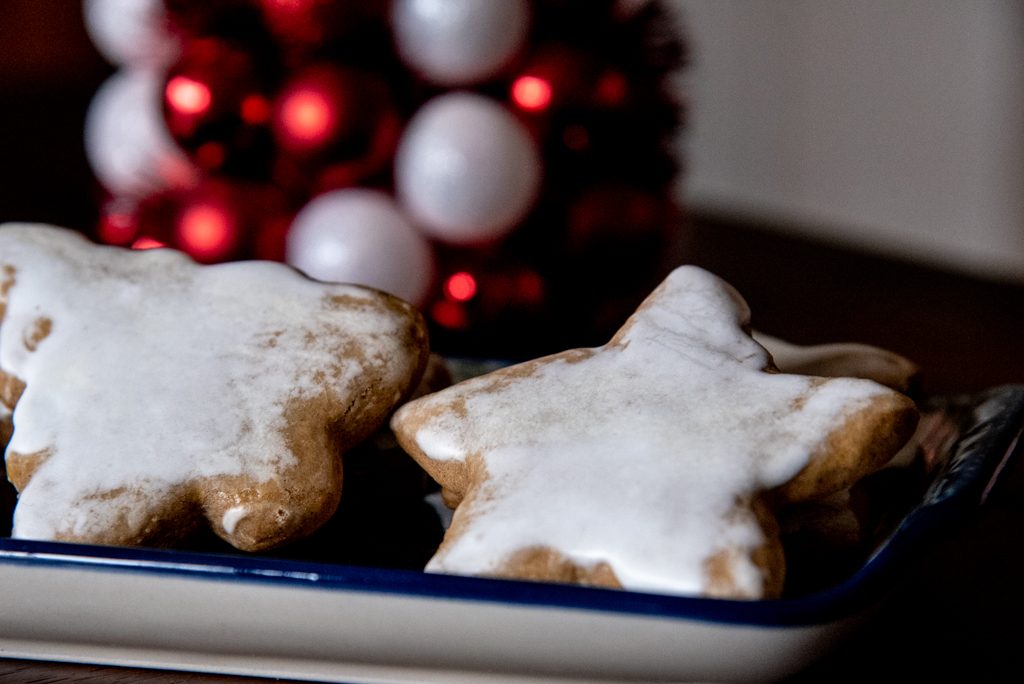
A Polish Christmas would not be complete without these yummy spice cookies.

Following is the recipe. Meet me after the recipe for step-by-step illustrated instructions.

| Servings |
cookies
|
- 1 3/4 cups powdered sugar
- 2 tablespoons orange juice, milk, or warm water (more may be needed to reach desired consistency)
- 1/4 teaspoon almond extract
- 1 tablespoon corn syrup (optional) [if corn syrup is added, glaze has a nice sheen after hardening on cookies]
Ingredients
Glaze
|
|
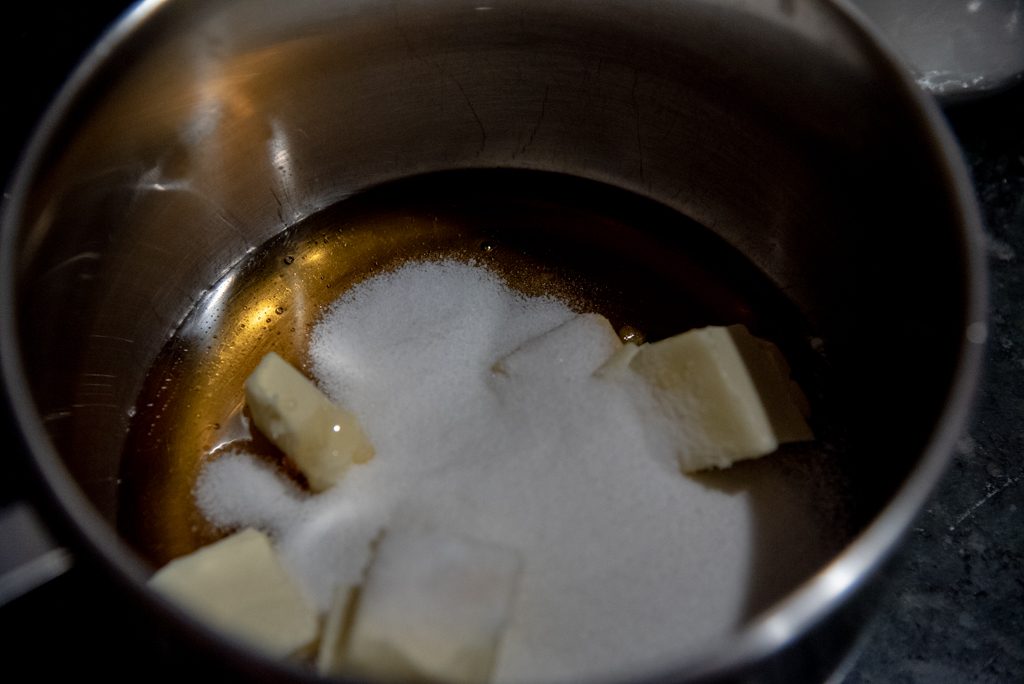
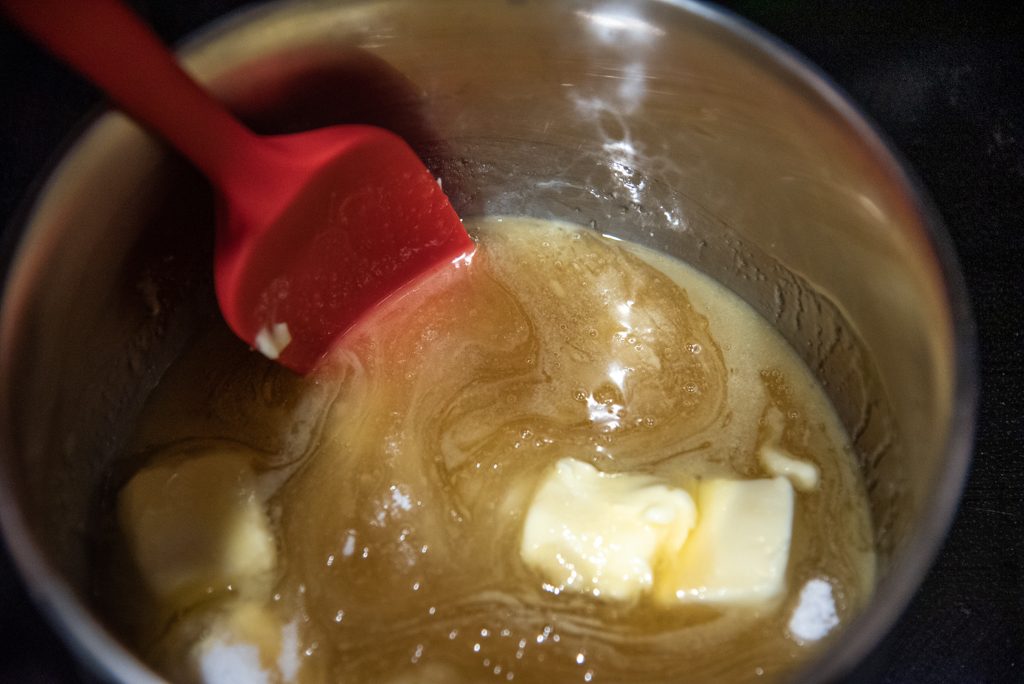
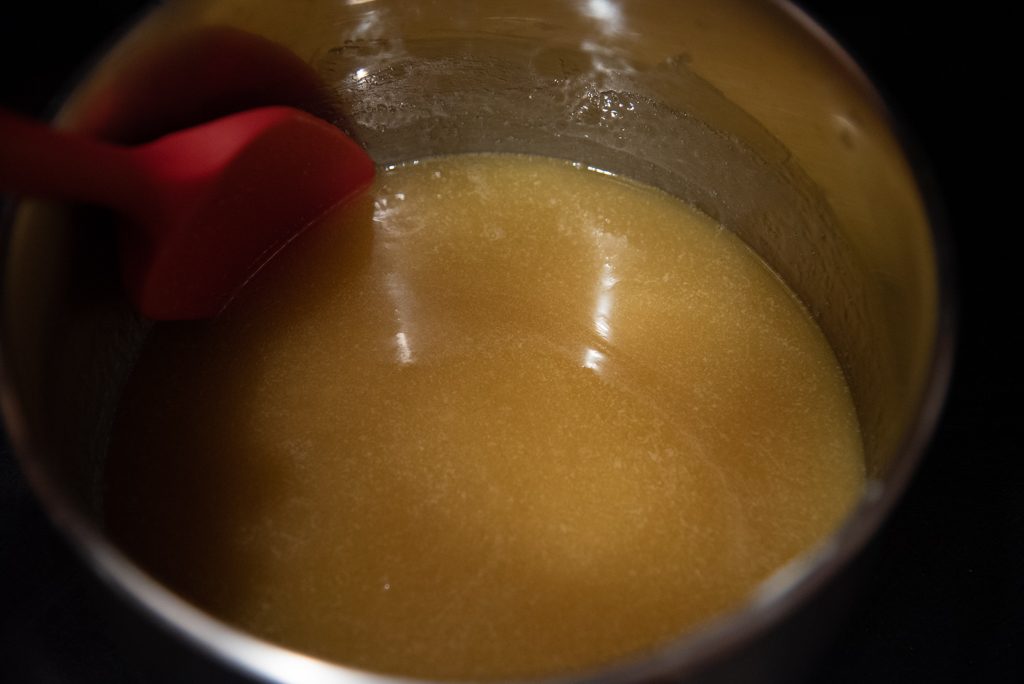
- In a medium pot, heat honey, sugar, and butter pieces on medium low, stirring occasionally, until butter melts. Remove from heat and set aside to cool for at least 20 minutes or until lukewarm to the touch.
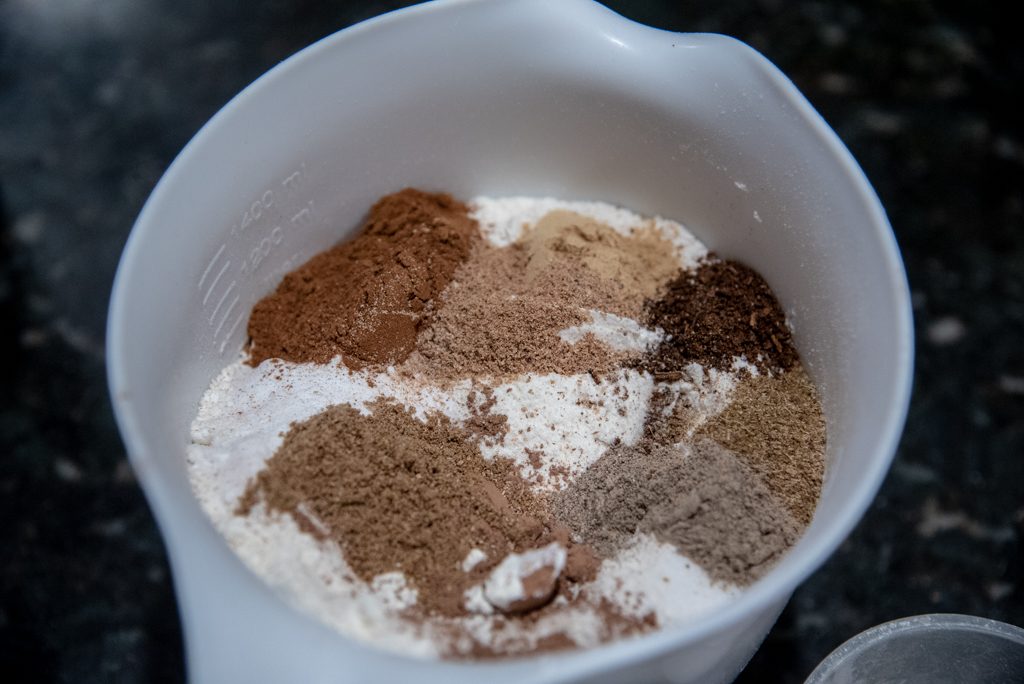
- Preheat oven to 350°F/180°C. Line cookie sheets (4) with parchment paper, Silpat, or lightly grease. In a large bowl, whisk together flour, baking soda, salt, sifted cocoa powder, and spices. (You may also sift all ingredients together.)
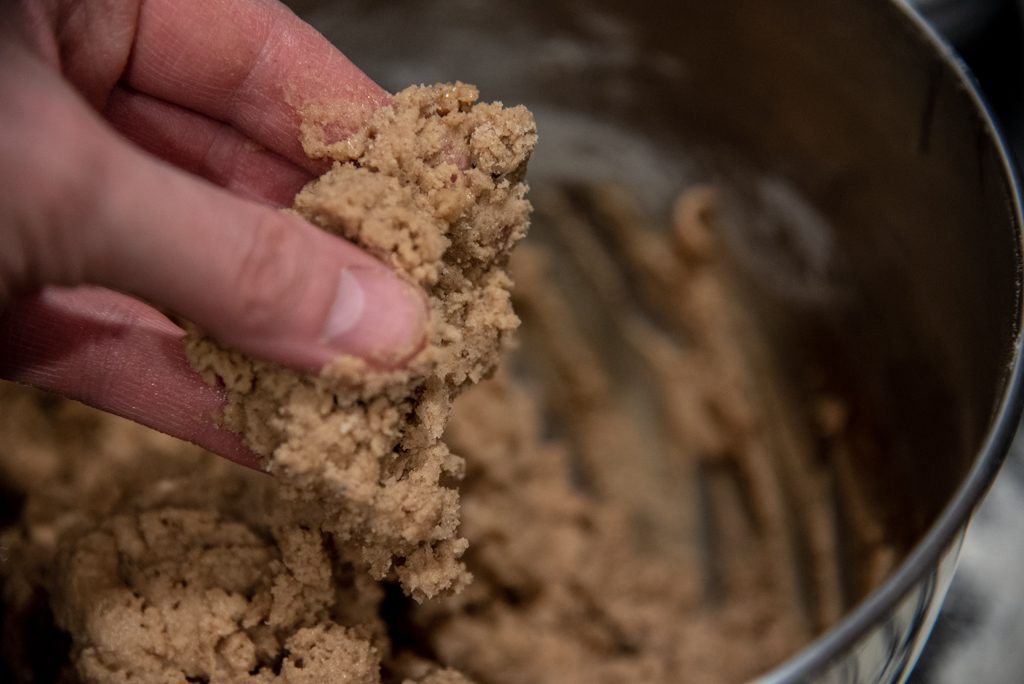
- Pour cooled honey mixture into the bowl of an electric mixer. On medium low speed, mix in egg using the paddle attachment. Gradually add in flour mixture. Increase speed for a few seconds, but just before the flour mixture is fully incorporated, stop mixer. Turn out dough onto lightly floured work surface (countertop or board). Knead until dough is smooth and form a disk. (Avoid adding additional flour unless dough is too sticky to handle.) Divide dough into 4 pieces. Take one piece for rolling and wrap the remaining dough in plastic wrap.
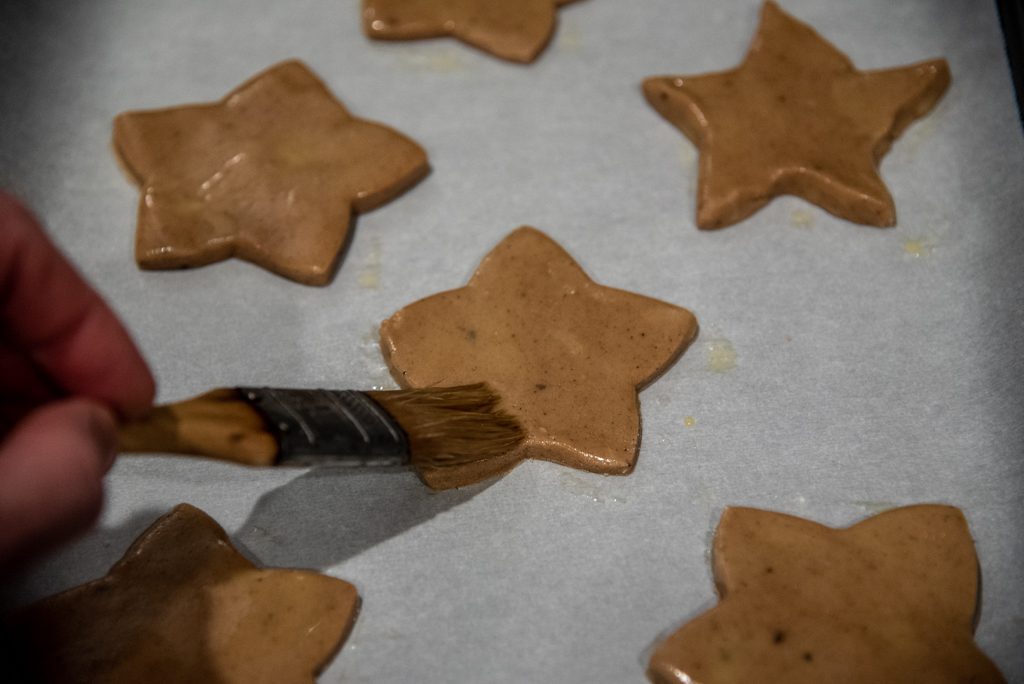
- On a lightly floured surface, roll out dough to about 1/4 inch or 6mm thickness. Using Christmas cookie cutters (2 to 2.5 inches), cut out desired shapes. Place on prepared cookie sheets, spacing cookies about 1.5 inches apart. For shiny cookies, brush egg wash on the surface of the cookies. This step is optional and especially not necessary if cookies will be glazed.
- Bake 6-8 minutes depending on thickness of cookies and oven. Bottoms will be lightly browned when cookies are ready. Transfer to wire rack to cool completely before glazing. Repeat steps 4 and 5 with remaining dough.
- To make glaze, fork blend glaze ingredients. Glaze should be opaque white and have a thick consistency, yet thin enough to brush onto cookies. Add more liquid (1 teaspoon at a time) or powdered sugar (1/4 cup at a time) as necessary to obtain the desired consistency.
- Using a pastry brush, brush the tops of each cookie with glaze and let dry on wire rack. Store at room temperature in airtight container, but may be served immediately. Keeps for about a month.
Step-By-Step Instructions
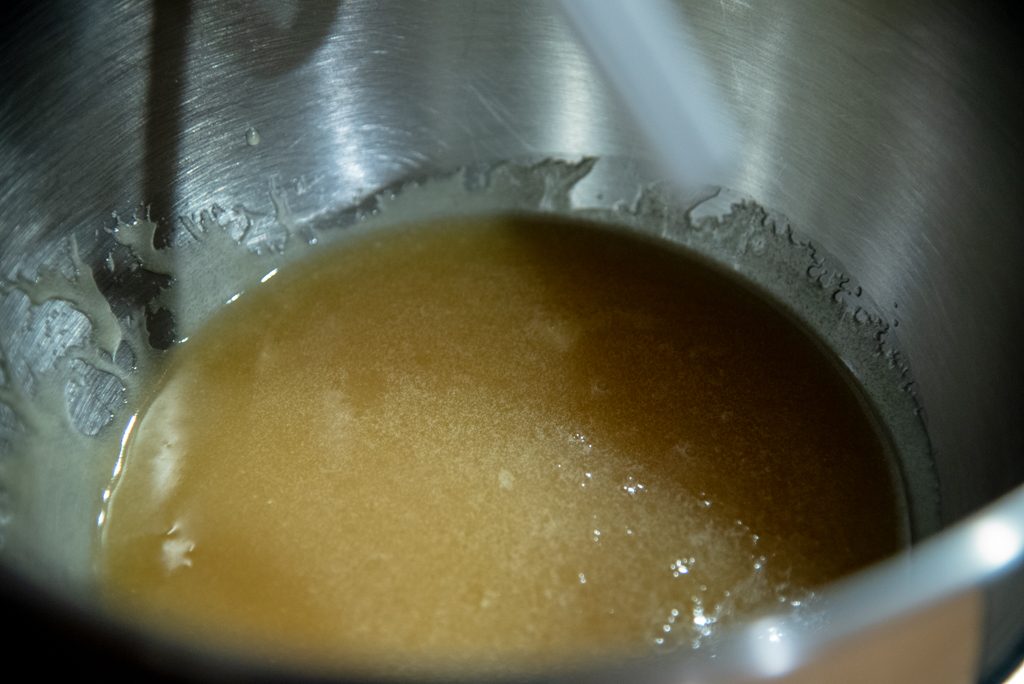
The first step is to heat the honey, sugar, and butter pieces in a saucepan over medium heat.
Stir occasionally to incorporate the butter as it melts. Heat until the butter has fully melted.
Remove from heat and let the honey mixture cool about 20 minutes. It will be ready to use further when it’s lukewarm to the touch.
Preheat the oven to 350°F/180°C. Whisk together flour, baking soda, salt, cocoa powder, and spices. While sifting isn’t required, it is definitely a step worth taking, especially for the cocoa powder (to get rid of the lumps). The spices I like to use are: cinnamon, ginger, cloves, nutmeg, pepper, cardamom, coriander, and anise. Use only a dash of pepper. You should have about 3 tablespoons of spices. If you don’t have cardamom, coriander, or anise, that’s not really a problem–just add allspice and more ginger and cinnamon. Personally, I find that cloves provide the most distinctive flavor out of the bunch.
Transfer the cooled honey mixture to the bowl of an electric mixer.
Using the paddle attachment, mix honey on low speed.
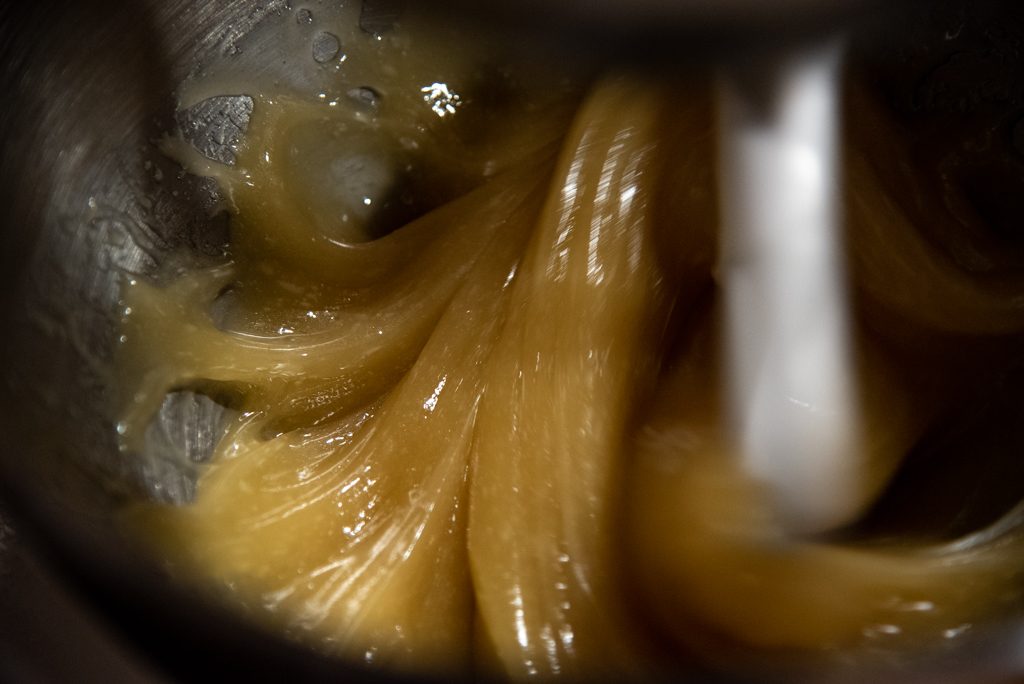
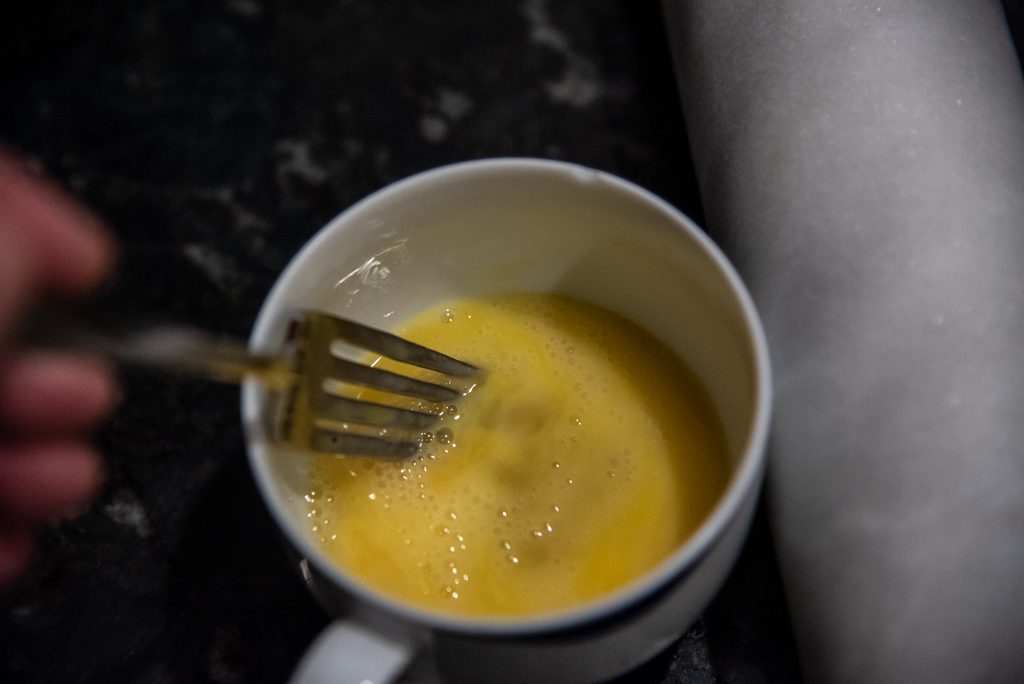
Then mix in the egg until fully incorporated.

On low speed, mix in the flour mixture.
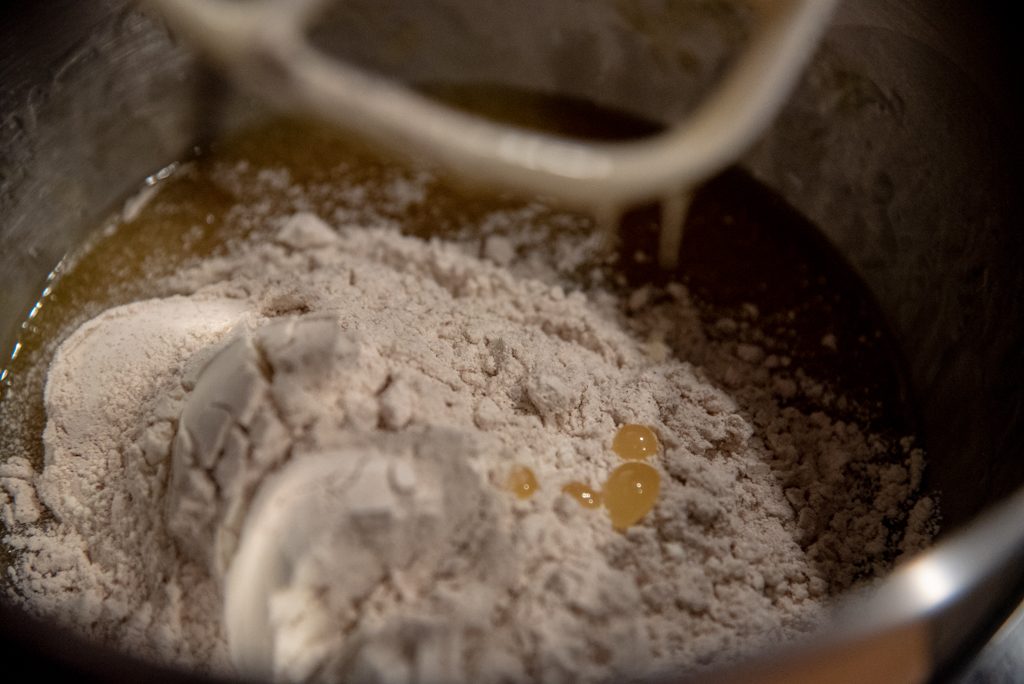
Increase the speed a notch for a few seconds, and then turn off the mixer.
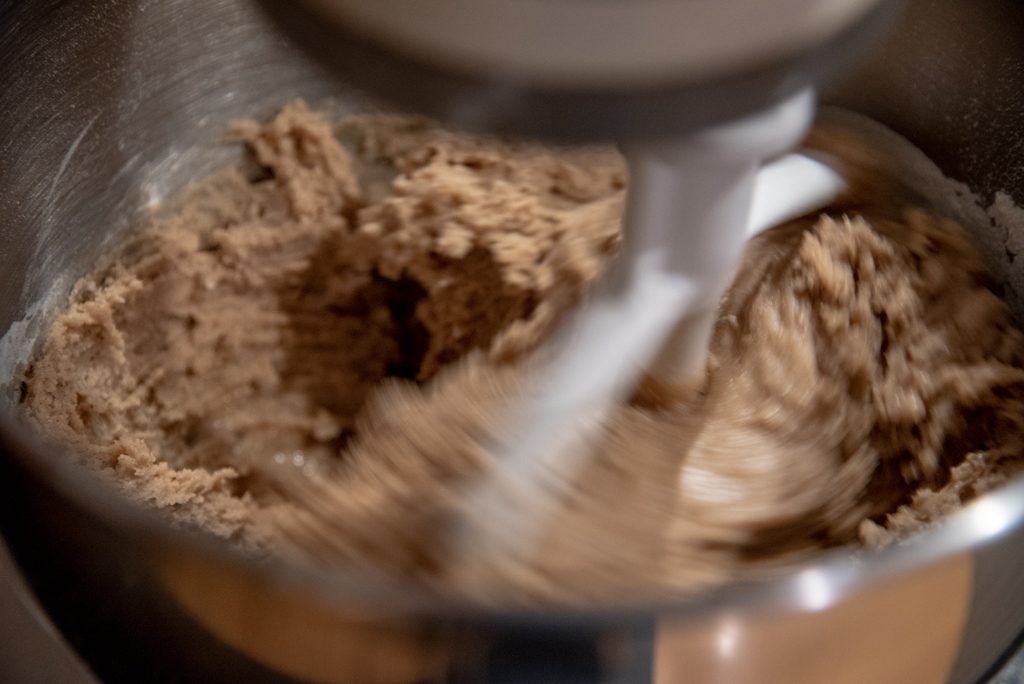
Turn out the dough onto a lightly floured counter top or other smooth surface and knead until smooth.
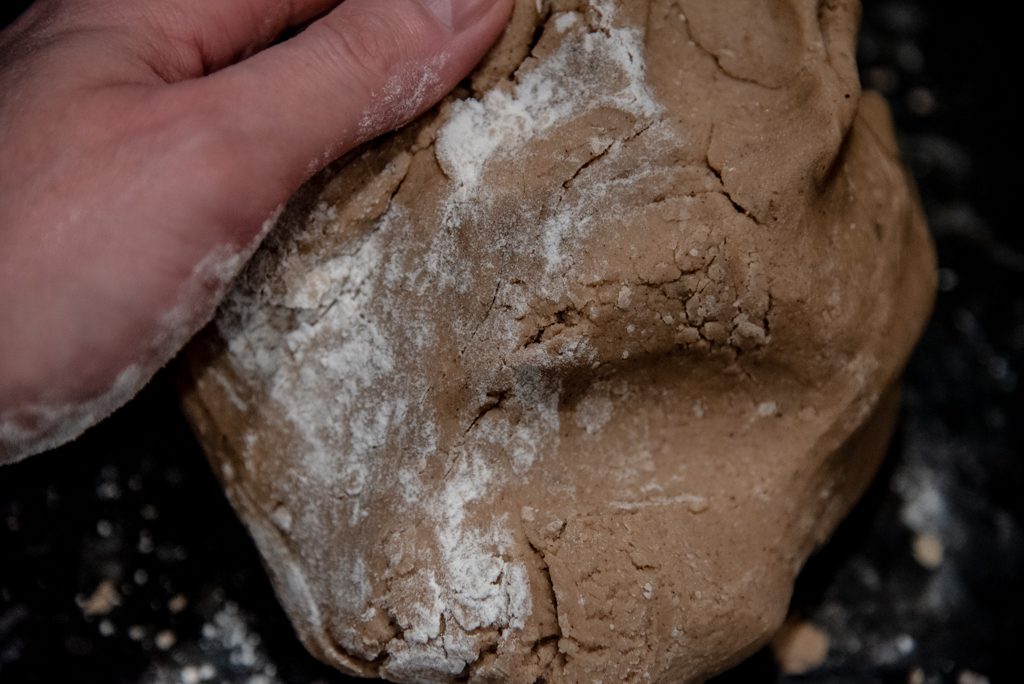
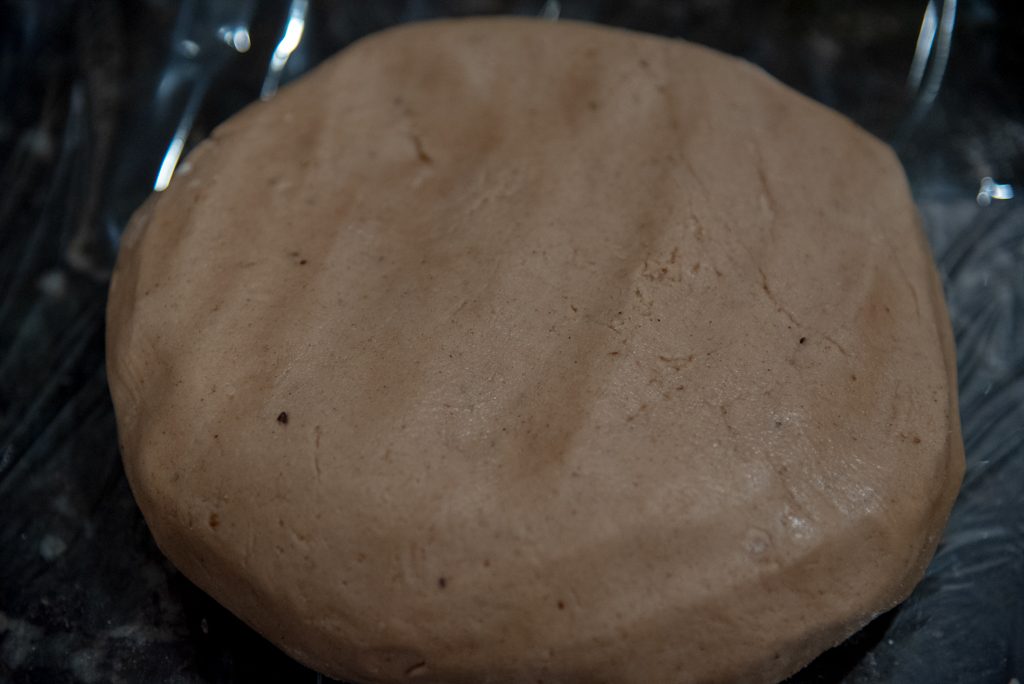
Shape the dough into a disk.
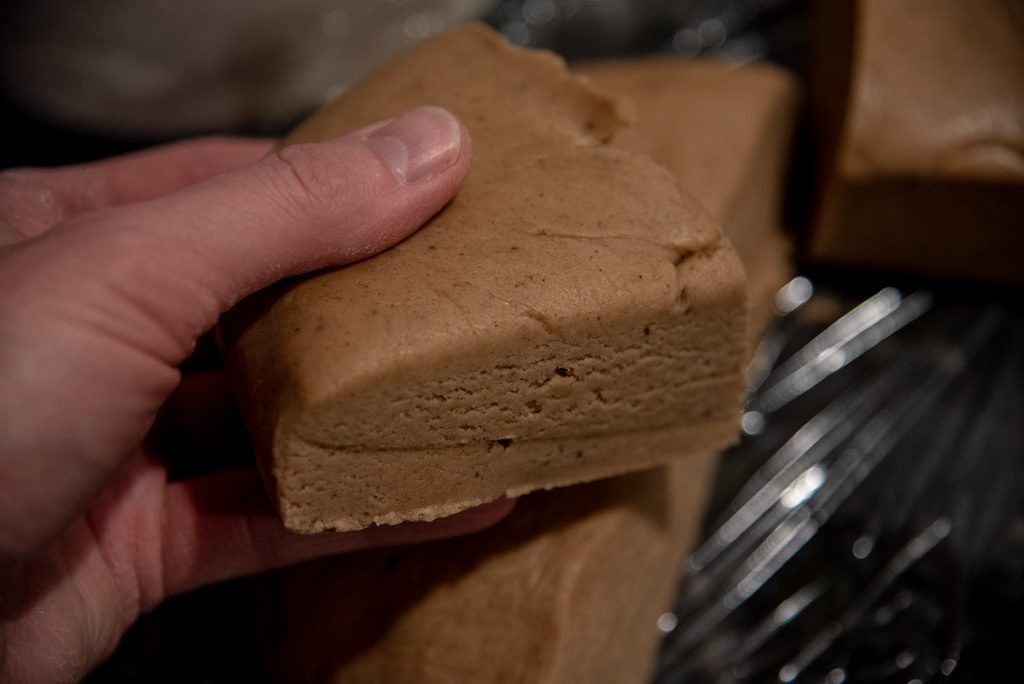
Then divide the dough into 4 equal pieces. Take one piece for rolling and wrap the remaining dough in plastic wrap.
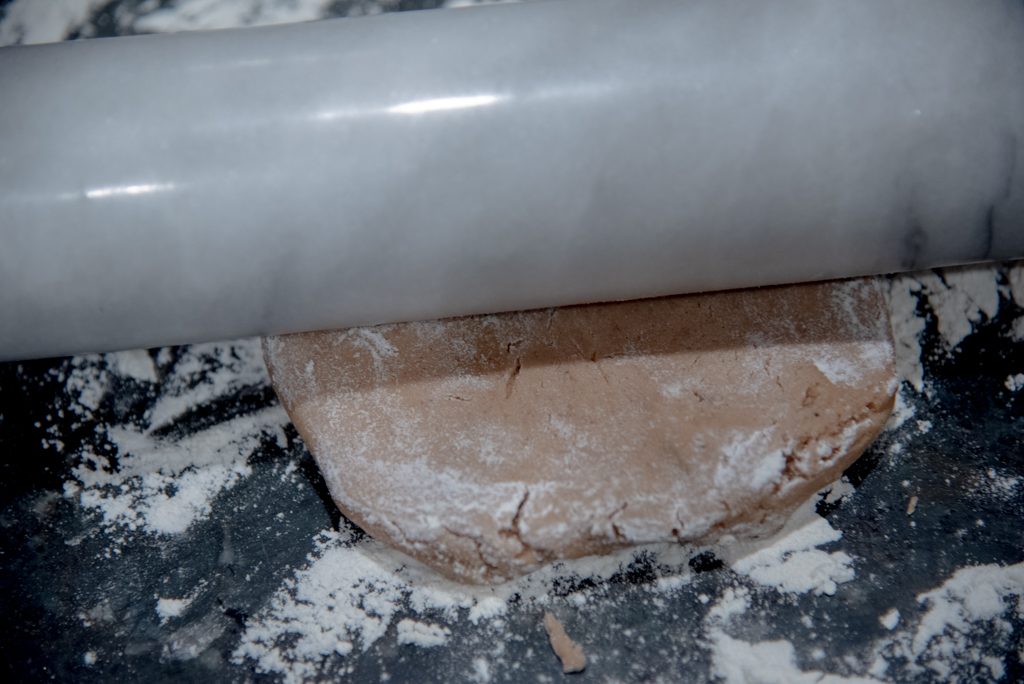
Lightly flour your work surface again and roll out the dough to 5mm or 1/4 inch thick.
Cut out desired shapes.
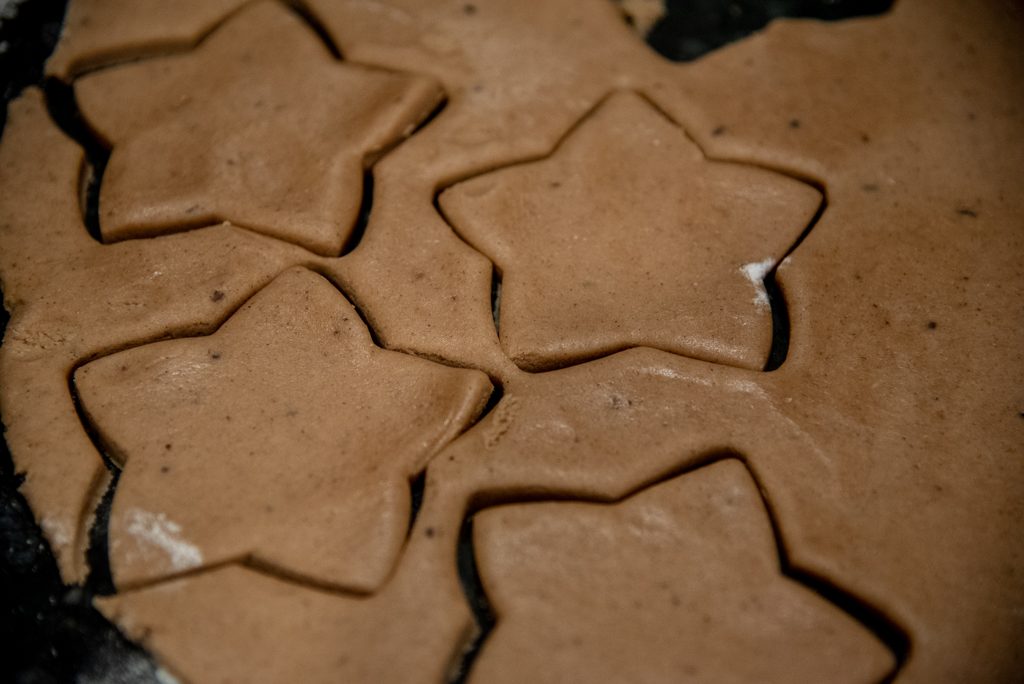
The star is a traditional shape, but any Christmas cookie cutter shape will do. Stick to cutters that are between 2 inches and 2.5 inches. By the way, you may find that the dough may begin to stick to your work surface if it sits there too long. If this happens, use a spatula to carefully lift the cookies off the counter. If that doesn’t work, you may have to simply gather up your dough, re-flour the work surface, and start the rolling process over again.
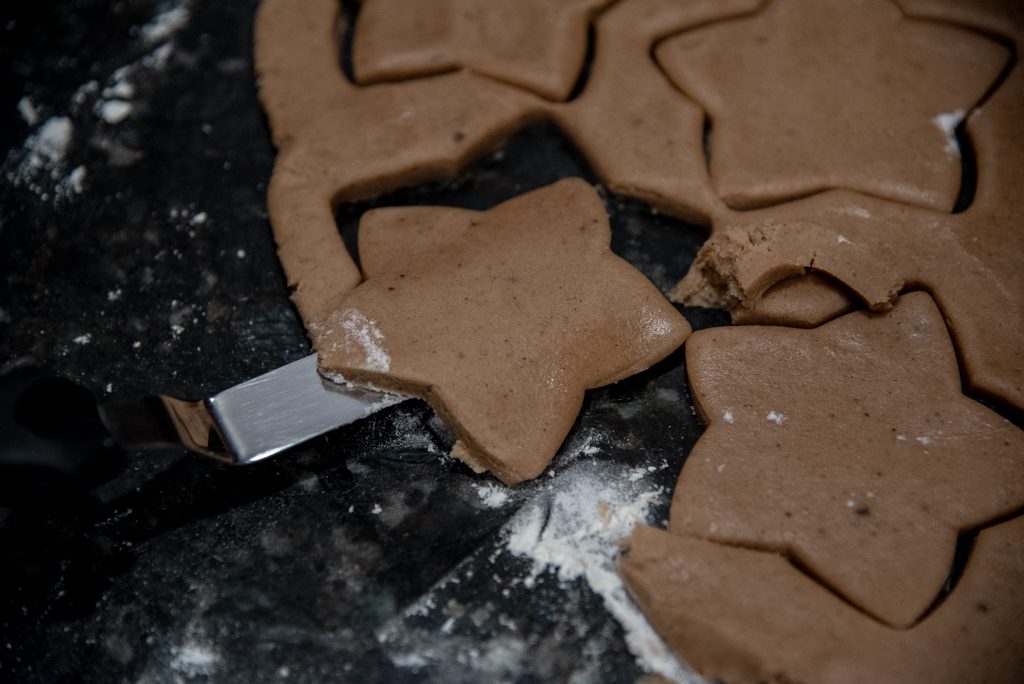
Place the cookie cut-outs on cookie sheets that have been greased or lined with parchment paper (or Silpat).
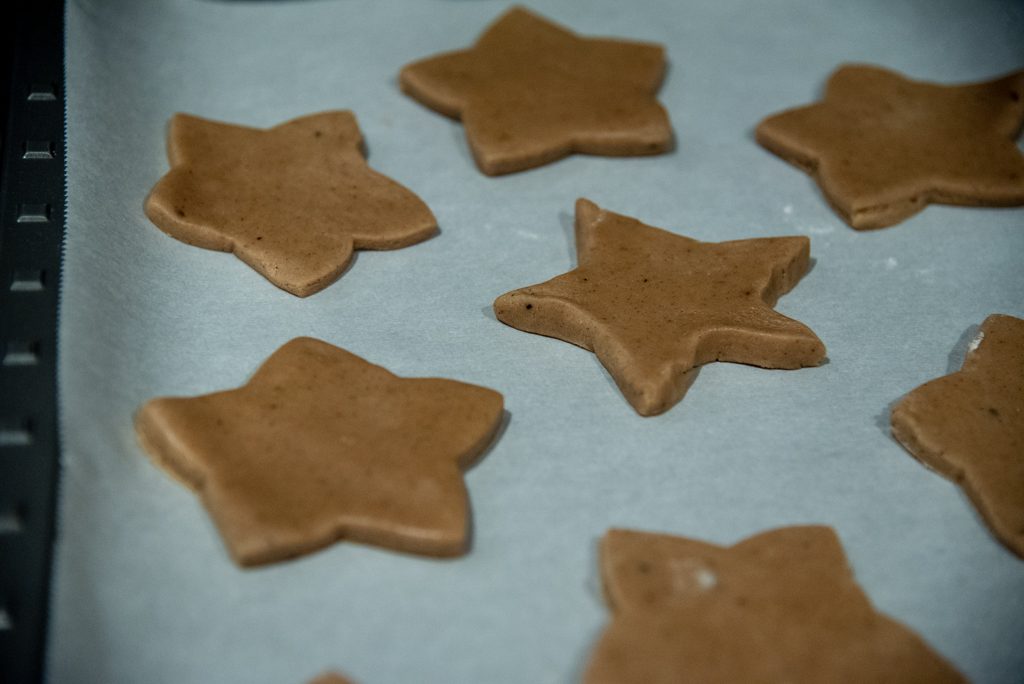
If you want some shine on your cookies, brush them with lightly beaten egg. This step isn’t really necessary if you plan on glazing the cookies after they’ve baked.
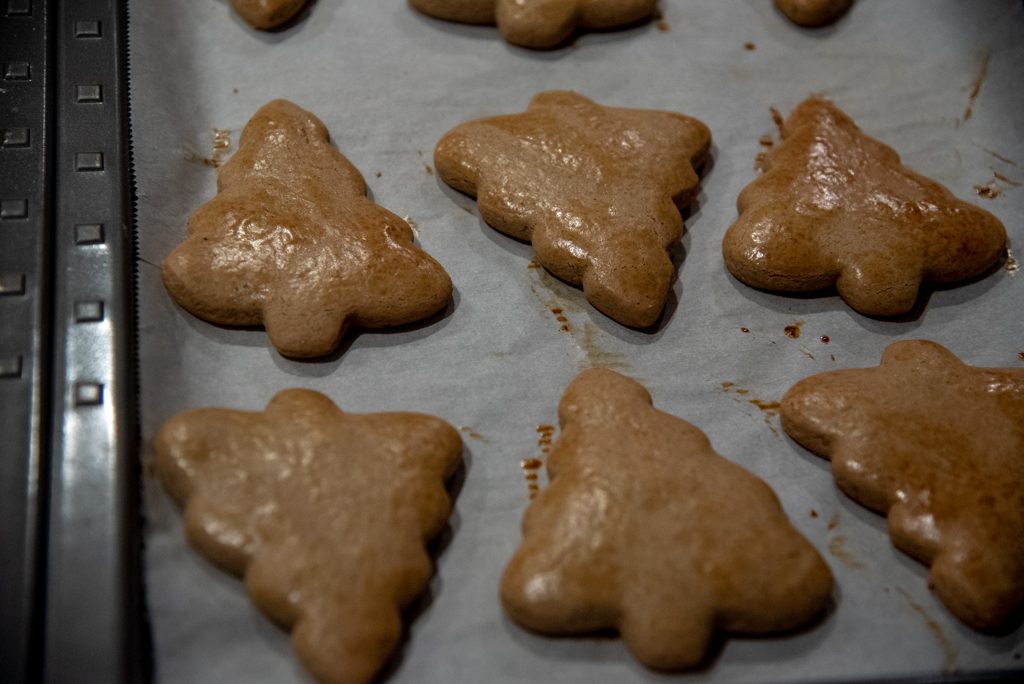
Bake the cookies for about 8 minutes. They may be ready even in 6 minutes, depending on your oven and how thin you rolled out the cookies.
Here are the baked cookies without an egg wash.

Here are the baked cookies with an egg wash.
Transfer the cookies to a wire rack to cool completely. After they have completely cooled, they are ready to eat just as they are.
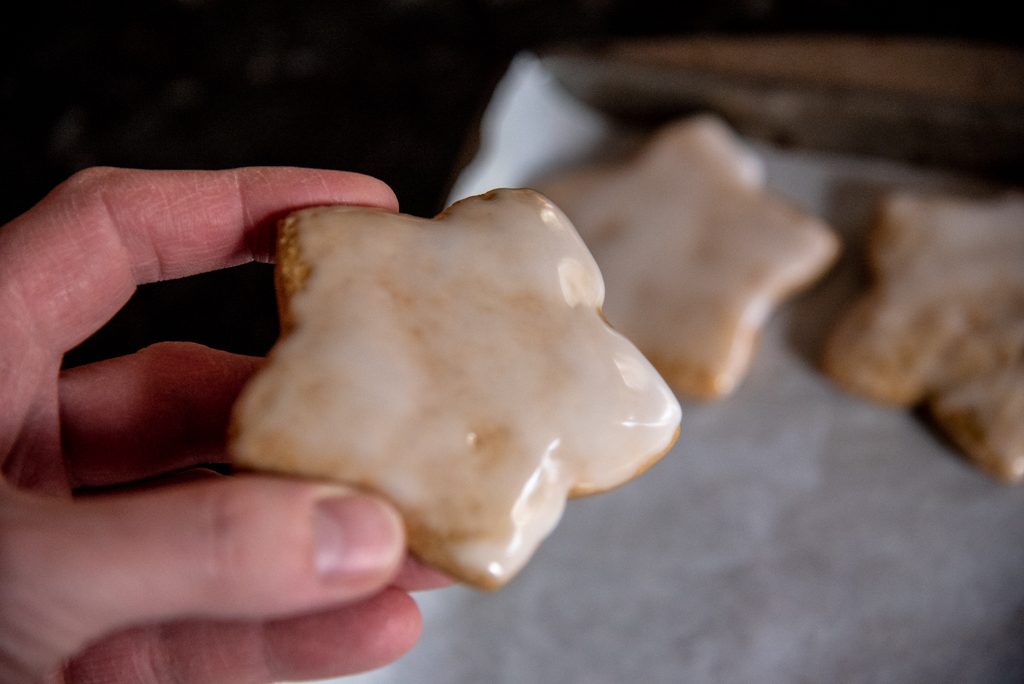
However, I recommend glazing the cookies because they are not very sweet standing on their own, and they look more appetizing when glazed. You can use a quick powdered sugar glaze for these cookies: a mixture of 1 3/4 cups powdered sugar and a tablespoon or so of orange juice (or other liquid, like milk or warm water), a tablespoon of light corn syrup, and a 1/4 teaspoon of almond extract for added flavor. You can omit the corn syrup, as I did for this batch, but the glaze works better on the cookies if you add some corn syrup. (The glaze is shinier after it hardens if you add corn syrup.)
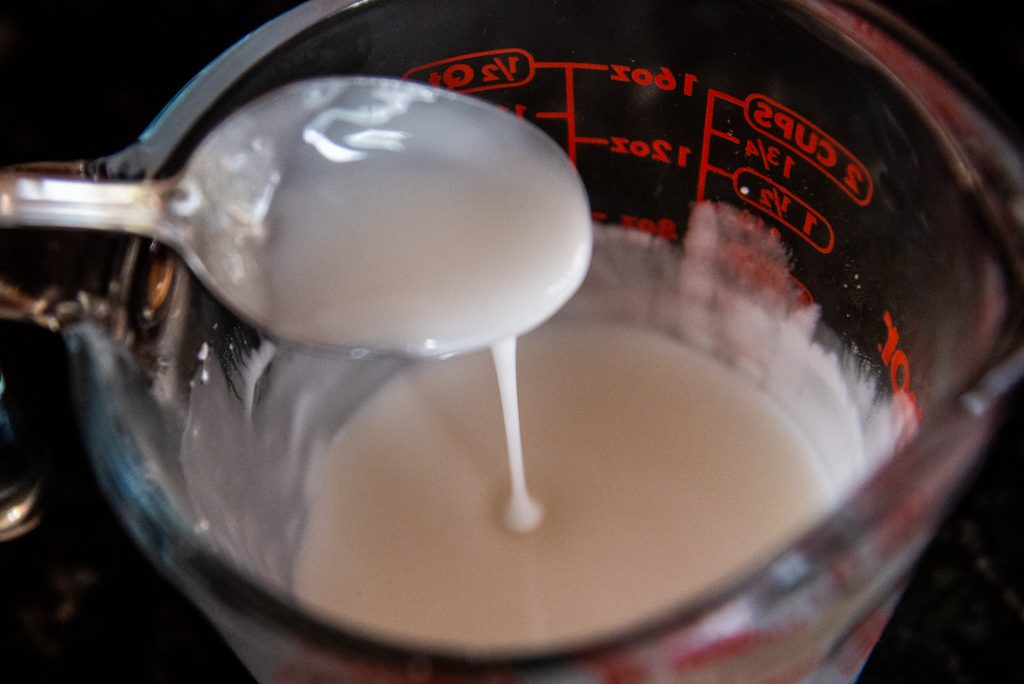
Check the consistency of the glaze. If the glaze is too thin, add a 1/4 cup of powdered sugar at a time to get the right consistency. If the glaze is too thick, add a teaspoon of liquid at a time. Then brush the glaze on each cookie and set on parchment paper or a wire rack for the glaze to harden.

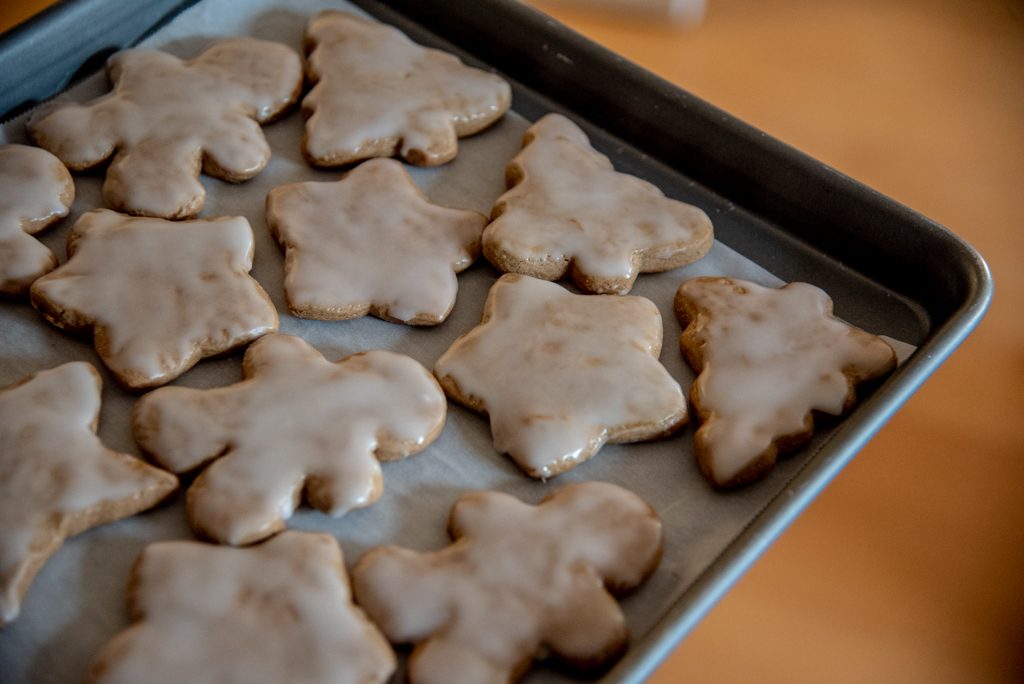
The glaze needs to be completely dry before storing.
You can pipe intricate designs on your cookies. Or not. I opted for not. I needed to do 4 other batches, so time was short!
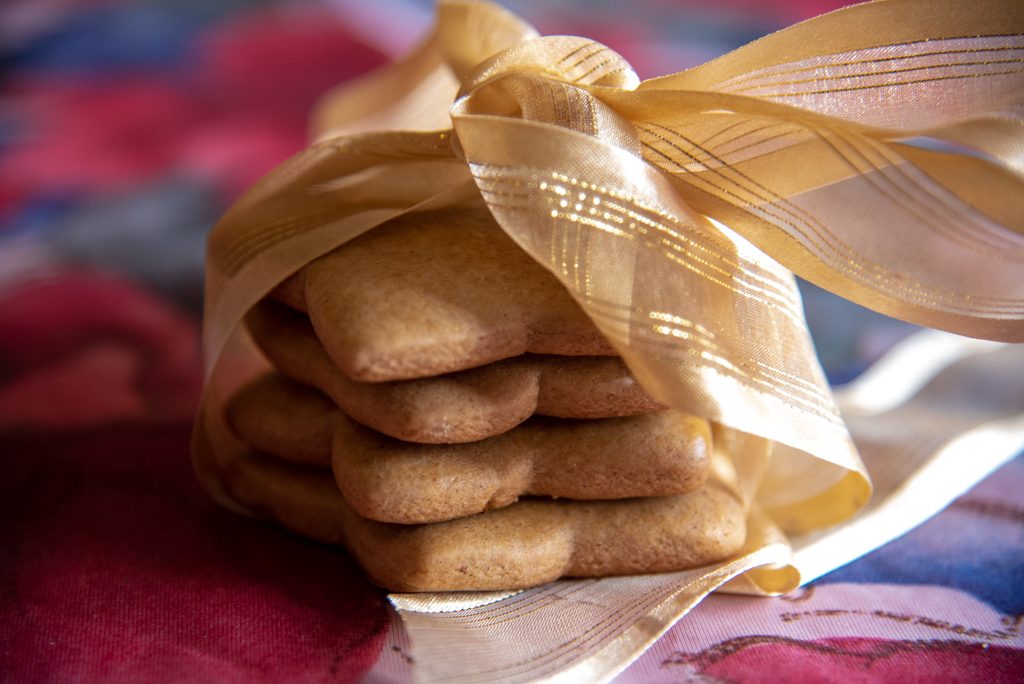
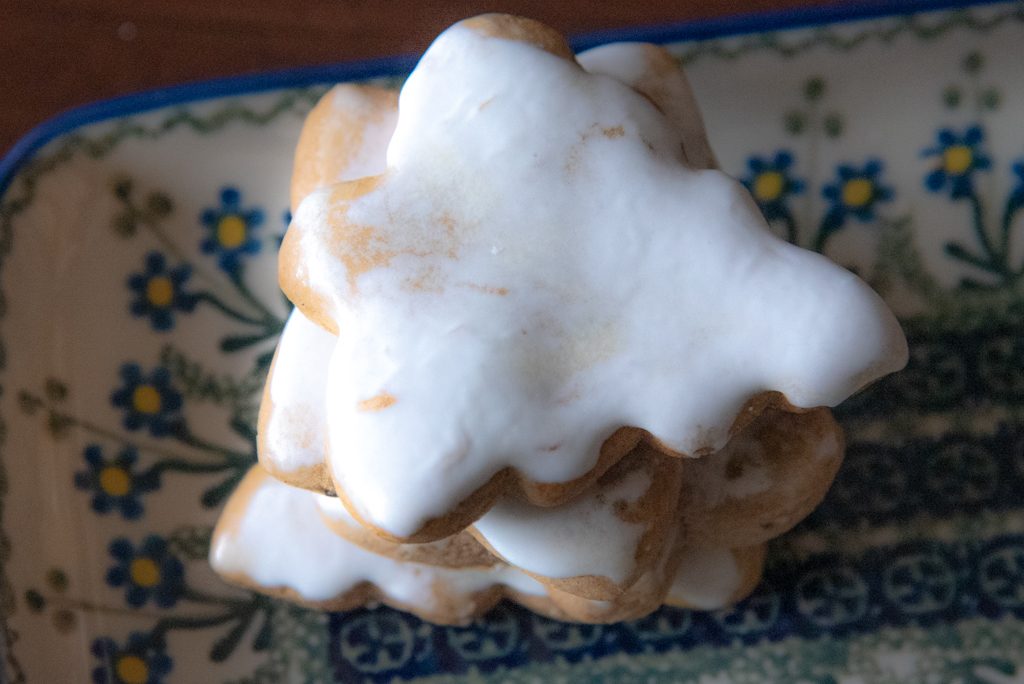
These spicy, soft, puffy, and historically significant honey spice cookies–pierniczki–spell MERRY CHRISTMAS!


10 Comments
I saw a show on Amazon about Polish honey gingerbread cookies and have wanted to make them ever since. Your recipe was easy to follow, the dough was easy to handle and my kitchen smelled heavenly. Thanks so much, I’m really enjoying them.
Many thanks–I appreciate your feedback! Totally agree on how heavenly the kitchen smells when these cookies are baking!! What’s great about these cookies (aside from the taste!) is that they keep well at room temperature for a long time–not that they’ll last that long. . . . Thanks again for writing!
Thanks for this recipe! Made it today with my kids because we’ve been studying Poland. Despite not having a stand mixer, the dough came together really well and was easy to work with. The cookies taste great and have a nice texture. Definitely the spiciest gingerbread I’ve ever had, but in a good way. Similar recipes will seem flat now by comparison.
Wonderful! I’m glad it worked out well and that you’re happy with the cookies. I agree with your thoughts on the spices! Your feedback is much appreciated–thanks so much!
I made these cookies this morning as the recipe is written. There was no pooling of butter, the dough required no extra flour at all. They rolled out easily, look adorable and are delicious! Thank you for this great recipe.
Wonderful! I’m so glad the recipe was a success for you. Your feedback is very important to me – thank you!
Hello! I know some time has passed since you’ve last posted (I believe) but I was hoping to ask you a question. I’ve studied the various pierniki recipes you have and read in your introduction that these cookies are occasionally filled with fruit jam. I am looking to make the chocolate glazed pierniki hearts filled with plum jam, often sold in bags in Polish stores. I can’t find a recipe for them anywhere! Would your above recipe work? And would you sandwich the filling between two halves, seal and then bake? Or make them thicker, bake them and then fill them with a pastry tip and bag after they have baked? I would very sincerely appreciate your feedback and response. Thank you so much. -Ania
Hi! Thanks so much for your question. I do not think that the recipes on HollyTrail will give you the same result as the soft, puffy pierniczki you can buy in Polish stores in terms of filled pierniczki. I tried a similar recipe a few years ago before my posts by doing one of your suggestions, which is sandwiching two halves with jam. It was Ok but the layers ended up being too thin and sort of brittle. It wasn’t the right pierniczki texture and consistency that I was striving for. I am not positive that rolling them out thicker would resolve the problem but maybe that is one factor. I want to give filled pierniczki another try this year and found a recipe on the following website (aniagotuje.pl) that might work, though I haven’t tried it out yet. It also uses the method of sandwiching rolled out cookie dough. The recipe is in Polish but Google translate works somewhat OK if you need the recipe in English: https://aniagotuje.pl/przepis/pierniczki-nadziewane
Here is another recipe that says that it should produce soft cookies: https://poprostupycha.com.pl/przepis/przepis-na-pierniczki-nadziewane-mieciutkie/
This second recipe has some cream in it, which in my experience helps the dough turn out soft after baking.
Hope this helps!
Oops. The recipe version I made of yours is the”Pierniczki Staropolskie.” However I guess I posted my replies onto this “Same Day Pierniczki” page.
My bad!
No worries! I appreciate your feedback!